Cross and Crown Quilt Pattern
Create your own quilt masterpiece with the Cross and Crown Quilt Pattern! With detailed instructions, helpful tips, and illustrated sketches to guide you, you’ll have no trouble creating a quilt that is both beautiful and functional.
Gather Your Supplies.
Before you begin, you’ll need to make sure you have all the supplies necessary for your Cross and Crown quilt pattern. Gather up embroidery thread, batting, fabric pieces of your choosing, a cutting mat, rotary cutter, and other essential quilting supplies. Once your materials are ready to go, you can start stitching away!
The Cross and Crown quilt pattern celebrates the beauty of traditional quilting designs. For this pattern, you’ll need ten light fabrics for the main body of the quilt, as well as four blue tones for your pinwheels. Finally, choose a complementary fabric for both your border and binding. With all of these pieces ready to go, plan out your color scheme before you begin piecing together the patches. To give this quilt extra special detailing, opt for hand-embroidery for your crown and cross design—it’ll make it one-of-a-kind! And when it all comes together, you’re left with a stunningly beautiful piece of craftsmanship perfect to show off during family gatherings or give away as presents.
Choose a Color Scheme and Determine the Size of Your Quilt.
Choosing a color scheme and determining the size of your quilt will be the first step in creating your Cross and Crown quilt pattern. Figure out how big you want your quilt to be and then decide on the colors and prints that you would like to use. Be sure to take into consideration the color scheme of any bedding or furniture that you plan to pair your finished project with in order to achieve a complete look.
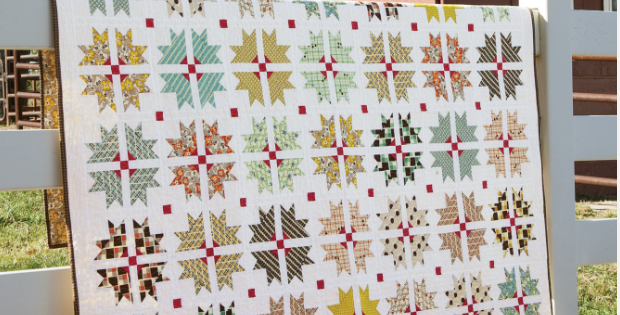
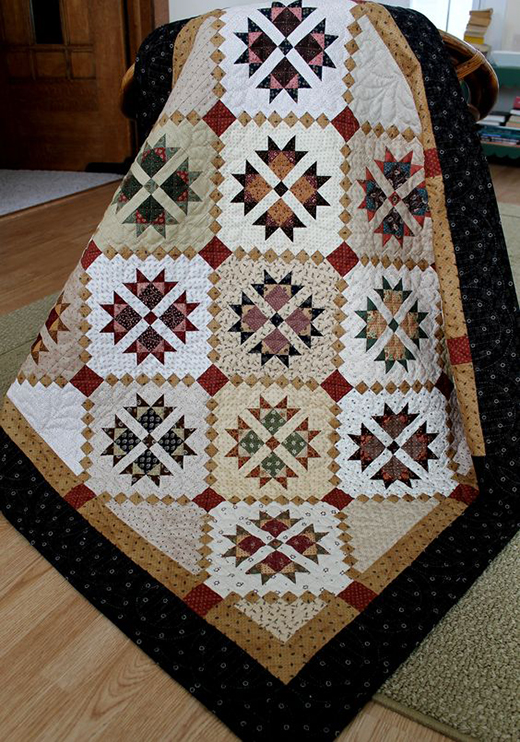
Once you have your fabric and the size of your quilt determined, it’s time to start piecing. The Cross and Crown pattern consists of a lattice background with two different blocks – the cross and the crown – alternating in each row. Coordinate complementary prints to create an eye catching contrast when these blocks appear together. Make sure that you always press seams open for accuracy as you work and before entering the quilting stage. Then layer your top with your batting and backing fabrics for a soft feel and quality finish.
Cut and Sew the Pieces Together.
Cut the fabric pieces according to your pattern. Start by piecing together the crown blocks using the center of each block as a reference point for each piece. Sew the blocks together row-by-row, and remember to use a ¼ inch seam allowance. Once you have all of your rows sewn together, it’s time to sew them into one big quilt top! To do this, press each row in alternating directions before laying them out and sewing them together with a ¼ inch seam allowance.
Once you’ve finished piecing together the quilt top, it will look like a “crazy quilt” because of all the pieces that come together in different directions. To make this quilt have an orderly appearance, you will need to quilt it. Quilting stitches add texture and dimension to your quilt as well as help it keep its shape. There are many ways to quilt the Cross and Crown pattern, but the most traditional way is to do what is called “echo-quilting”. This technique consists of creating small loops between colors and shapes in order to define each element. By doing this, you can enhance and highlight the details of your Cross & Crown design!
Create Interlocking Squares to Make the Patchwork Design.
Now that you’ve pieced the quilt top together, its time to create the design. To do this, take two of the fabric squares and stitch them together with a ½ inch seam allowance. Continue sewing all of your patchwork squares together in this manner until your top is completed. Remember to use different patterns and colors to achieve a quilt effect!
For the cross and crown quilt pattern, you will be creating interlocking squares. Start by folding the quilt top in half along its width to know exactly where to place your pattern pieces. Align the folded patchwork pieces with the edges of a gridded cutting mat and cut out four 2” x 4” rectangles from each piece. To make sure you have equal-sized squares, measure each edge before you cut. Stitch together three of these squares on each end to form an “X” or “cross” shape, then stitch together two more that meet at the center of the quilt top. Repeat until all of your fabric squares have been sewn into an interlocking pattern and voila! Now your patchwork quilt is complete and ready to hang!
Assemble and Stitch the Quilt Layers Together.
Now that you’ve created your quilt top, it’s time to assemble the quilt layers. Start by laying out your batting and backing fabric on a work surface and pinning them together. Then, carefully layer the quilt top piece over the batting and pin all of the layers in place. Use a sewing machine or hand-stitch using quilting thread to stitch all the layers together. Remember to leave ¼ inch seam allowance between each row of stitches!

